
General Websites
Setting up Chatsimple on your website has never been easier!
Install Chatsimple on General Websites
Welcome to the Chatsimple installation guide! Follow these step-by-step instructions to seamlessly integrate our chatbot into your website. Whether you're using plain HTML or popular frameworks like React.js and Next.js, we have you covered!
Video Tutorial
Step 1: Access Your Dashboard
Visit the Chatsimple Dashboard (https://app.chatsimple.ai) to find the unique script for embedding the chatbot on your site.
Step 2: Locate and Copy the Code
In the “Add to Website” section of the dashboard, click the “Copy” button to copy the script to your clipboard.

Step 3: Find the Appropriate File for Your Website
For General HTML Websites: Paste the code before the closing
</body>tag in your main HTML file.For React.js: Add the script inside the
public/index.htmlfile, just before the closing</body>tag.For Next.js: Create a
_document.jsfile inside yourpagesfolder, and include the script before the closing</body>tag.For Other Websites Where Code Can be Accessed: Locate the file where HTML is rendered. Then include the script before the closing
</body>tag.
Note: If you want your chatbot to appear on specific pages, then include the script only in the files that correspond to those pages.
Step 4: Insert the Code
Paste the copied code in the appropriate place as per your website type, as mentioned in Step 3.
<!-- Your existing HTML code here -->
<!-- Paste the Chatsimple code here -->
</body>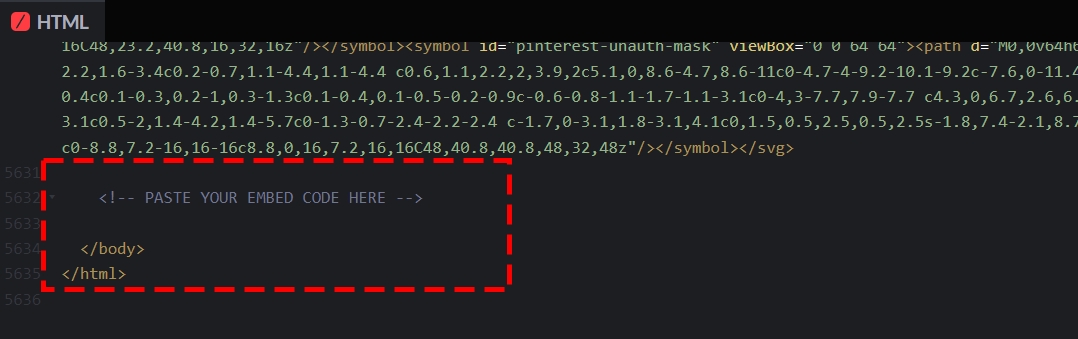
Step 5: Verify the Installation
Save your changes, and refresh your website to ensure the Chatsimple widget appears correctly.
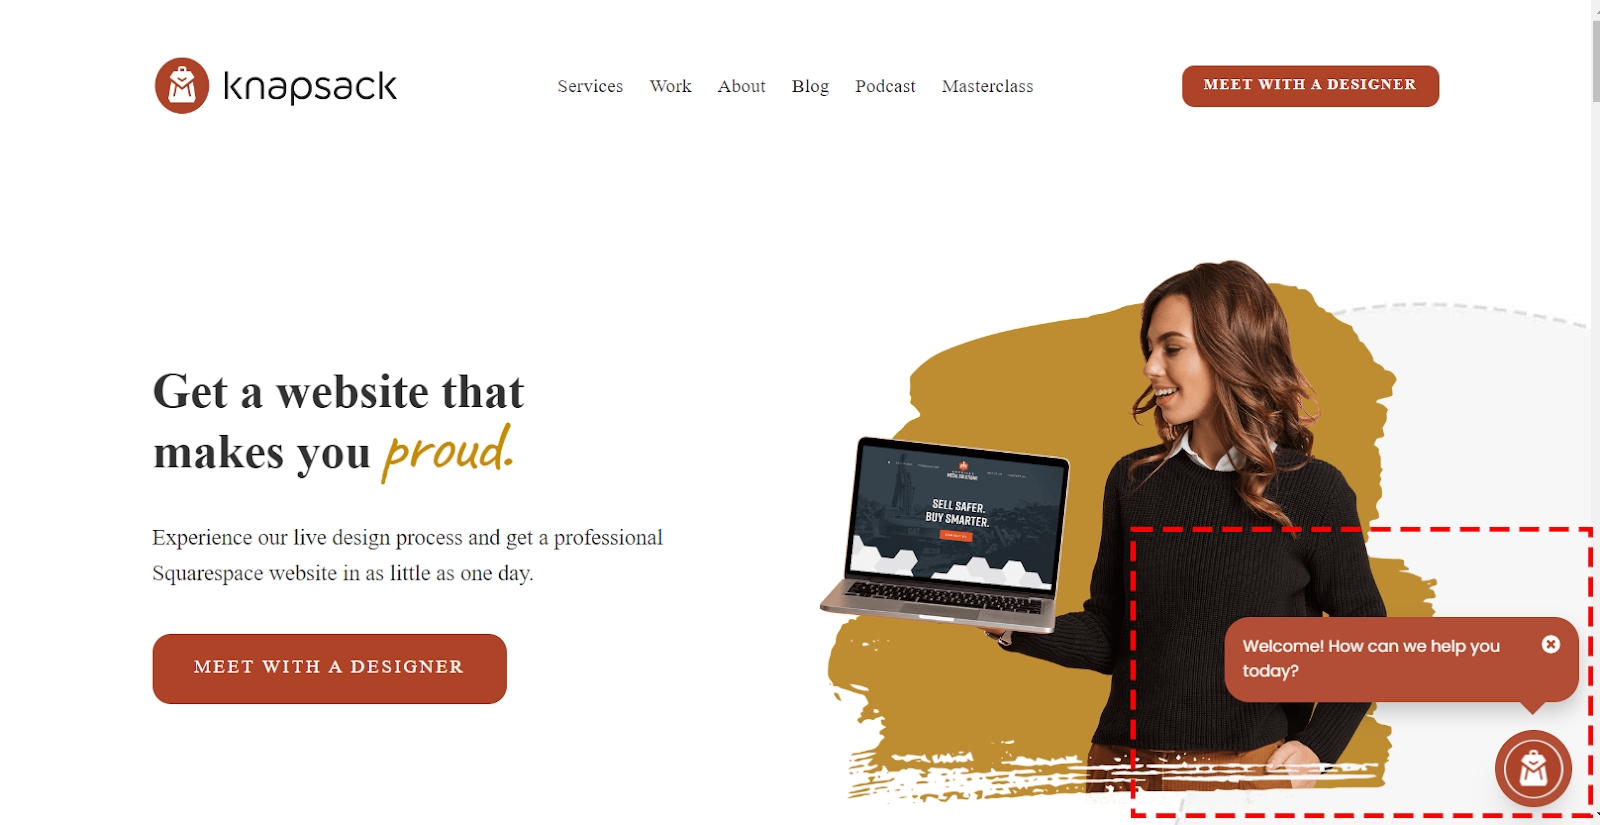

All Set to Engage!
Congratulations! Chatsimple is now part of your website, ready to provide a delightful experience to your visitors 24/7.
Last updated